 how-to
How to Layer Kitchen Lighting Effectively
Quick Summary
To layer kitchen lighting, combine three layers: ambient light for overall brightness, task light over work zones like counters, sink, and stove, and accent light to highlight features. Place ambient recessed lights about 3 to 4 feet apart, and keep every layer at a matching color temperature around 3000K.
- Space ambient recessed lights roughly 3 to 4 feet apart for a standard kitchen.
- Add under-cabinet task lights toward the front edge so light reaches the countertop.
- Hang island pendants 30 to 36 inches above the countertop, spaced 24 to 30 inches apart.
- Choose 3000K for most kitchens, and look for a CRI of 90 or higher on work-surface fixtures.
- Put each layer on its own dimmer circuit so you can build lighting scenes.
Table of Contents
- Why Layering Beats a Single Ceiling Fixture
- Step 1: Plan Your Ambient Lighting Layer
- Step 2: Add Task Lighting Over Work Zones
- Step 3: Set Pendant Light Spacing Over the Island
- Step 4: Choose the Best Color Temperature for Kitchen Lighting
- Step 5: Use Dimmers, Controls and Accent Light for Mood
- Booking a Lighting Plan Review for Your Kitchen Remodel
- Frequently Asked Questions
Layer kitchen lighting in a kitchen and you get the single most effective way to make it feel bright, functional, and inviting at the same time. A lone ceiling fixture floods the room with flat light, leaves shadows on the counters, and makes the space feel like a break room. The approach below is the one we recommend.
Lighting designers break kitchen light into layers: ambient, task, and accent. Each layer does a different job, and the combination is what creates a comfortable, usable room.
Why Layering Beats a Single Ceiling Fixture
One overhead fixture spreads light evenly, but it rarely lights the places you actually work. Your hands end up in your own shadow over the sink, and the island glows while the cabinets stay dim.
Layering solves this by giving each area its own light source. The room feels bigger, colors look more natural, and you can change the mood with a dimmer.
Step 1: Plan Your Ambient Lighting Layer
Ambient light is the base layer. It fills the room so you can walk, talk, and see clearly from any corner.
- Start with recessed ceiling lights spaced evenly across the room
- Place fixtures roughly 3 to 4 feet apart for a standard kitchen, adjusting for ceiling height
- Keep ambient light soft and even so it does not glare off shiny surfaces
A common mistake is relying on ambient light alone. It fills the room but leaves work areas too dim, which is why the next layers matter.
Step 2: Add Task Lighting Over Work Zones
Task lighting is the layer that makes cooking, chopping, and cleanup easier. It belongs directly over the spots where you do detailed work.
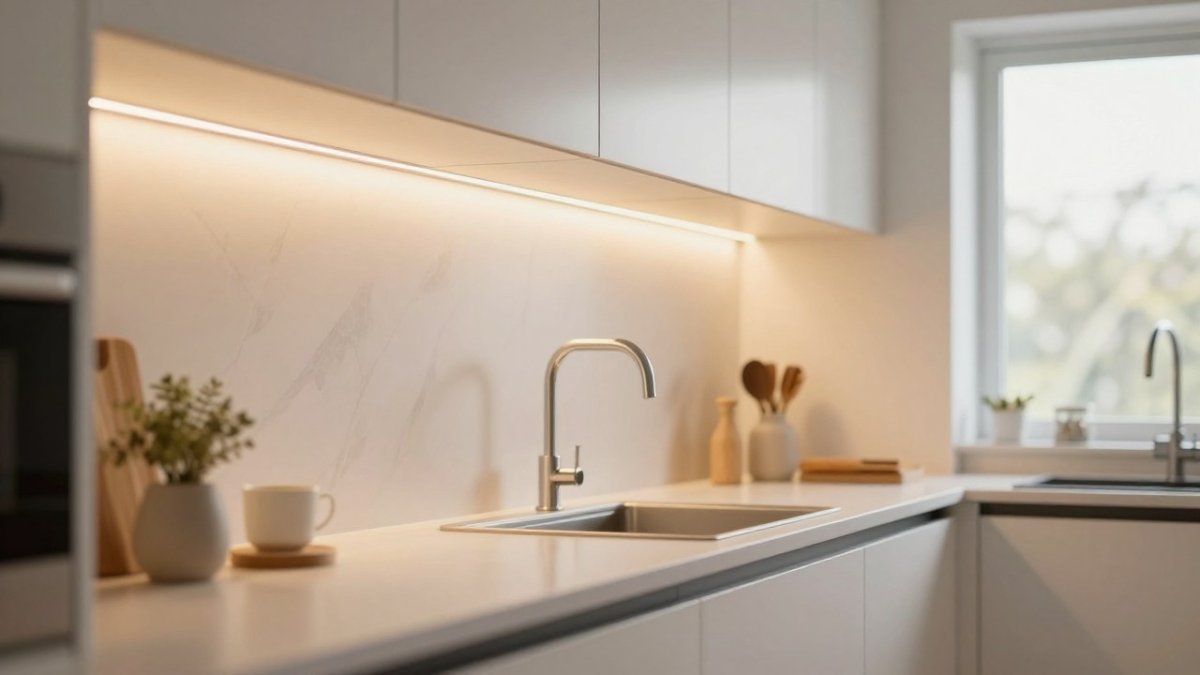
Focus task light on the countertops, the sink, and the stove. These three zones see the most activity and need the brightest, most direct light.
Under-Cabinet Lighting Installation Tips
Under-cabinet lights are the most practical task fixture in most kitchens. They put light right on the counter without throwing a shadow from your body.
- Use LED strips or puck lights mounted to the underside of wall cabinets
- Plan power access before you install, since you will need a nearby outlet or junction box
- Position fixtures toward the front edge of the cabinet so light reaches the countertop, not just the backsplash
- Install a switch or dimmer that controls the under-cabinet lights separately from the ceiling
Step 3: Set Pendant Light Spacing Over the Island
Pendant lights give the island its own identity. They also add task light for eating and prep work at the island.
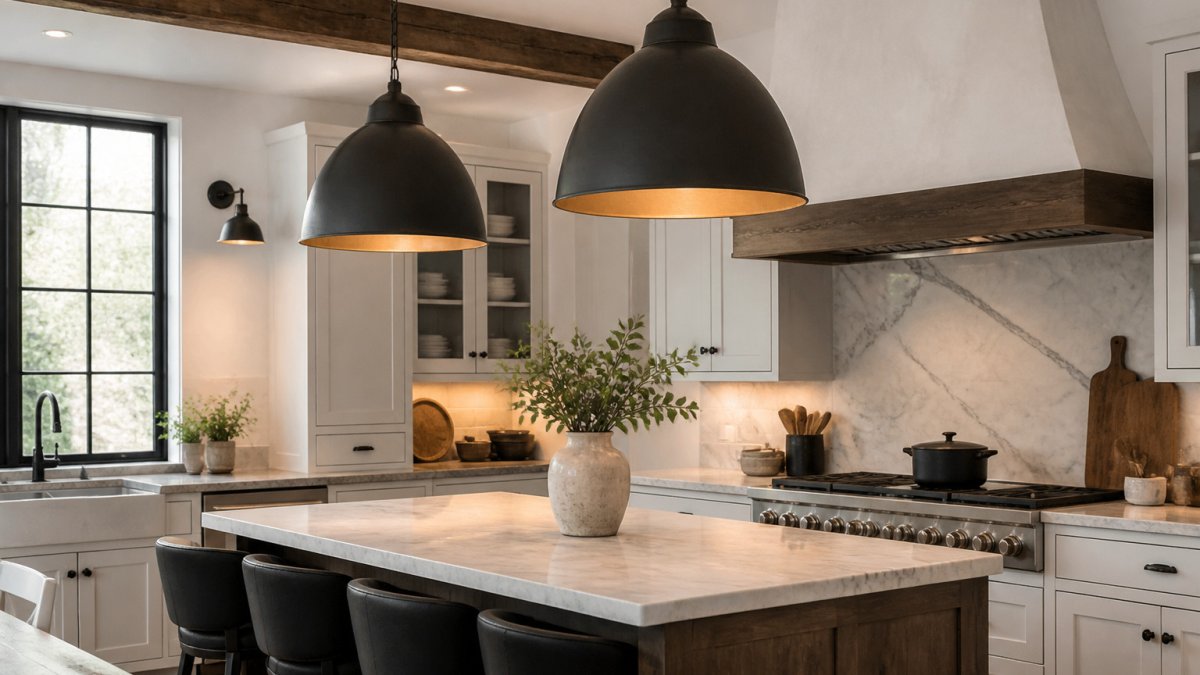
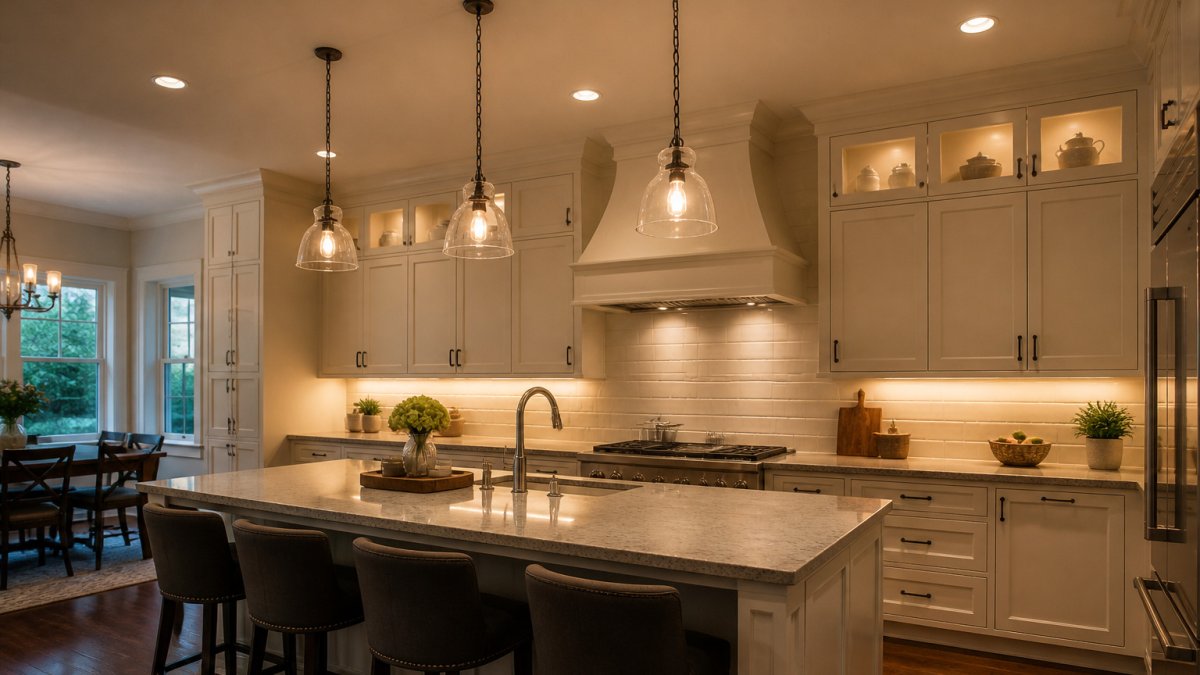
For most islands, hang pendants 30 to 36 inches above the countertop. Space multiple pendants evenly, usually 24 to 30 inches apart center to center, so the group looks intentional. Keep the fixtures centered over the island and scale the size to the island's length. Our team checks this spacing on every project, because pendants that hang too low block sightlines across the room.
Step 4: Choose the Best Color Temperature for Kitchen Lighting
Color temperature, measured in Kelvin, changes how the kitchen looks and feels. Warmer light is more yellow, and cooler light is more blue. But Kelvin is only half the story. The other half is Color Rendering Index, or CRI, and it is the spec most kitchen lighting guides skip entirely.
Kelvin Ranges and Where They Belong
- 2700K to 3000K: warm white, cozy and good for dining areas and accent lighting on wood or stone
- 3000K to 3500K: soft white, a balanced choice for most kitchens and the safest single temperature for a whole-room scheme
- 4000K and up: cool white, crisp and useful for detailed prep work, but harsh over a dining island in the evening
Most homeowners do well with 3000K throughout, so every layer matches. Mixing temperatures is the fastest way to make a kitchen look unfinished. If you must mix, keep the ambient layer at 3000K and let accent fixtures run 2700K, which reads as intentional warmth rather than a mismatch.
Why CRI Matters More Than Kelvin for Food
CRI is scored on a 0 to 100 scale and describes how faithfully a light source renders color compared with natural daylight. A bulb can be exactly 3000K and still make rare steak look gray or herbs look olive if its CRI is low. For a kitchen, look for a CRI of 90 or higher on every fixture that lights a work surface or a plate. Big-box LED strips are frequently rated 80 CRI, which is fine for a hallway but noticeably dull over a cutting board.
Watch out: CRI is an average across a small set of pastel test colors, so a fixture can score 90 and still render deep reds poorly (Research Compares Measures of Average Color Fidelity). The more useful number for food is R9, the red-rendering score, which many manufacturers publish separately. A fixture with CRI 90 and R9 above 50 will make tomatoes, peppers, and seared meat look the way they should.
Matching Temperature Across Layers
Write the Kelvin and CRI of every fixture on your lighting plan before you buy. Under-cabinet strips, pendants, recessed cans, and accent pucks should share a temperature within 200K of each other, and every one that touches food or a counter should hit 90 CRI. If you are buying smart bulbs, check that the tunable-white range covers 2700K to 4000K so you can shift the room from prep to dinner without changing hardware.
The article compares the main Kelvin ranges and what each suits, so here is a quick reference.
| Kelvin range | Feel | Best use |
|---|---|---|
| 2700K to 3000K | Warm white | Dining areas and accent lighting on wood or stone |
| 3000K to 3500K | Soft white | Balanced choice for most kitchens |
| 4000K and up | Cool white | Detailed prep work; harsh over a dining island in the evening |
Step 5: Use Dimmers, Controls and Accent Light for Mood
Dimmers turn a functional kitchen into a comfortable one at night. Install them on the ambient and pendant circuits so you can lower the overhead light while leaving task lights on. Accent lighting highlights what you want to show off, such as glass cabinet doors, a tile backsplash, or open shelving. Use small recessed or puck lights aimed at these features.
Wiring Dimmers Correctly
Put each layer on its own dimmer circuit: ambient on one, pendants on a second, under-cabinet task lights on a third, and accent on a fourth if the budget allows. That separation is what makes scenes possible later. Confirm that your dimmers and smart switches are rated for LED loads before you buy, since some older dimmers flicker or buzz with LED fixtures. Look for the LED compatibility list on the dimmer manufacturer's site and match it to the driver in your fixtures, not just the bulb.
Smart Scenes Without a Full Rewire
Smart controls can save you trips to the wall switch. Many modern systems let you set scenes like "cooking" or "entertaining" from a phone or voice assistant. The practical way to get there in an existing kitchen is to keep the wall circuits as they are and swap in smart bulbs or smart dimmer modules on each circuit. A hub or a Matter-compatible bridge then groups those circuits into scenes: cooking mode brings ambient to 100 percent and task lights to full brightness at 3500K, while entertaining mode drops ambient to 30 percent, warms everything to 2700K, and lifts the accent lights over the glass cabinets.
Watch out: smart bulbs on a circuit controlled by a standard dimmer can behave unpredictably, because the bulb and the dimmer both try to regulate power. Use a smart dimmer module behind a regular switch, or leave the wall switch on and control the bulbs through the app, but do not stack both.
Retrofitting Layers Without Opening Walls
Most guides assume new construction. If your kitchen is finished, you can still layer light without a major electrical project. Battery-powered LED puck lights and plug-in under-cabinet strips handle the task layer with no new wiring. Plug-in pendant kits with a cord cover let you hang island fixtures from an existing ceiling box. For accent light, rechargeable picture lights and adhesive LED channels over open shelving cover the mood layer. The trade-off is that battery fixtures need recharging on a schedule and plug-in strips need a nearby outlet, so map your outlets before you buy. Reserve the electrician for the one circuit you truly cannot fake, usually a dedicated dimmer for the ambient layer.
Booking a Lighting Plan Review for Your Kitchen Remodel
If you are planning a kitchen remodel, the best time to lay out your lighting is before the walls are closed. Planning ambient, task, and accent circuits together from the start helps get the wiring in the right places.
Clear, upfront quotes break down materials, labor, and timeline, and a dedicated crew works with you through the project. Contact us for a free estimate or explore our kitchen remodeling services to see what a full project includes.
Last Updated: November 3, 2026
Frequently Asked Questions
What is the 3 lighting rule for kitchens?
The three lighting rule means a kitchen should have ambient, task and accent light working together. Ambient light fills the room evenly, usually from recessed or flush ceiling fixtures. Task light illuminates work areas such as the counter, sink and stove, typically from under-cabinet strips or pendants. Accent light highlights features like glass cabinets, backsplashes or open shelving. Using all three lets you switch between cooking, cleaning and entertaining without the room feeling flat or glaring.
What is the best color temperature for kitchen lighting?
Most kitchens look best between 2700K and 3000K for general and accent light, which feels warm and inviting. For task areas where you chop, read labels or check food doneness, 3000K to 4000K gives crisper, more accurate color. Keep fixtures in the same color temperature across the room so the space does not look patchy. Choosing lights with a high color rendering index, ideally 90 or above, helps food and finishes look natural.
How far apart should kitchen pendant lights be spaced?
A common guideline for pendants over an island is to space them about 24 to 36 inches apart, center to center, with the outer fixtures roughly 30 inches from the ends of the island. Hang the bottom of each pendant about 30 to 36 inches above the countertop so light lands on the work surface without blocking sightlines across the room. Adjust spacing for the number of pendants and their diameter so they look balanced from the seating side.
Should kitchen lighting be dimmable?
Yes. Dimmable lighting lets you use full brightness for food prep and cleaning, then lower the ceiling layer for dinner or evening use. Pair dimmers with LED fixtures labeled dimmable, since mismatched dimmers can cause flicker or buzzing. Put ambient and accent lights on separate controls so you can keep task lights bright while softening the rest of the room.