 how-to
How to Install Grab Bars in Bathrooms: A Step-by-Step Guide
Table of Contents
- Why Grab Bars Matter for Bathroom Safety
- Where to Install Grab Bars in a Bathroom
- Types of Grab Bars and Choosing the Right One
- How to Install a Grab Bar on Tile
- Bathroom Grab Bar Installation Cost and What to Expect
- When to Hire Professional Grab Bar Installation
- Common Installation Mistakes to Avoid
- Frequently Asked Questions
Last Updated: October 19, 2026
Why Grab Bars Matter for Bathroom Safety
Bathroom falls are one of the leading causes of injury in homes, especially for seniors and individuals with mobility challenges. To install grab bars in your bathroom isn't just a convenience, it's a practical safety upgrade that protects everyone in your household.
At Handy Gonzo's Home Improvements, we've helped homeowners add grab bars to their bathrooms as part of broader accessibility modifications. The key is understanding where they're needed most and how to install them securely so they actually support your weight when you need them.
Grab bars work by giving you something solid to grip and stabilize yourself during high-risk moments: stepping into the shower, standing up from the toilet, or moving along the tub edge. Unlike towel racks or soap dispensers, grab bars are engineered to handle significant load and must be anchored directly to wall studs or heavy-duty anchors rated for bathroom use.
Where to Install Grab Bars in a Bathroom
The most effective grab bar placement depends on your bathroom layout and how you move through the space. There's no one-size-fits-all answer, but certain locations address the highest-risk activities.
Placement by Bathroom Layout and User Needs
For shower and tub areas, most people benefit from a horizontal grab bar at 33-36 inches above the tub floor on the wall where you enter (Fig. 37 Grab Bars at Shower Stalls). This helps you step safely into the tub and provides support as you balance.
If you use a toilet, install a horizontal grab bar on the wall beside the toilet, 33-36 inches above the floor. This supports the critical moment of sitting down and standing up, where most bathroom falls occur.
For the sink area, a horizontal grab bar at 36-42 inches high can help if you need support while standing at the vanity. This is especially useful for people with balance issues or arthritis affecting their legs.
Consider the specific user's mobility level and height. Taller individuals may prefer bars slightly higher; shorter users or those in wheelchairs may need them lower.
Types of Grab Bars and Choosing the Right One
Grab bars come in several styles, each suited to different installation situations and aesthetic preferences. The most common types are straight bars, corner bars, and angled bars, each designed to handle load in specific directions.
Horizontal, Vertical, and Angled Orientations
A horizontal grab bar runs parallel to the floor and is the most versatile option. It works well for pulling yourself up or stabilizing as you move sideways.
A vertical grab bar runs up and down the wall. It's ideal for areas where you need to lower yourself down (like into a tub) or pull yourself up from a seated position.
An angled grab bar sits between horizontal and vertical, typically at a 45-degree angle. These bars are excellent for shower corners or transitions because they provide support in multiple directions. Many people find angled bars more comfortable for gripping than straight bars in tight spaces.
All grab bars should be non-slip and constructed from stainless steel or chrome-plated brass to resist bathroom moisture. Look for bars rated for at least 250 pounds of load capacity, the standard safety requirement, though many commercial-grade bars handle 300-500 pounds.
How to Install a Grab Bar on Tile
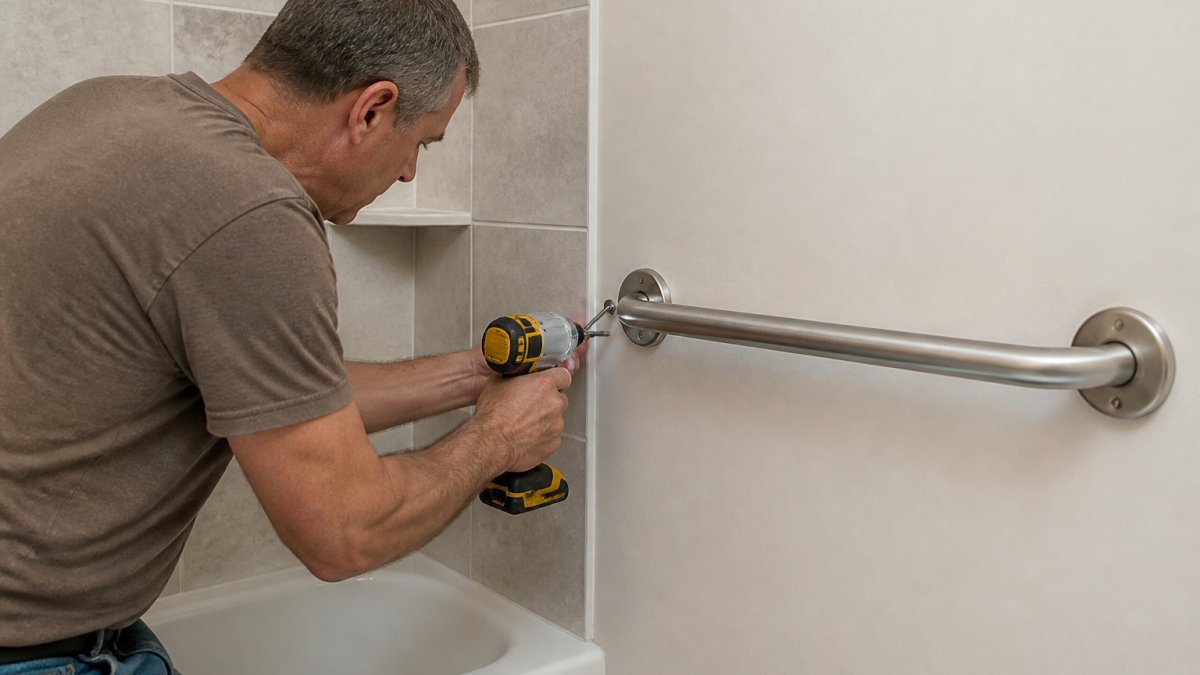
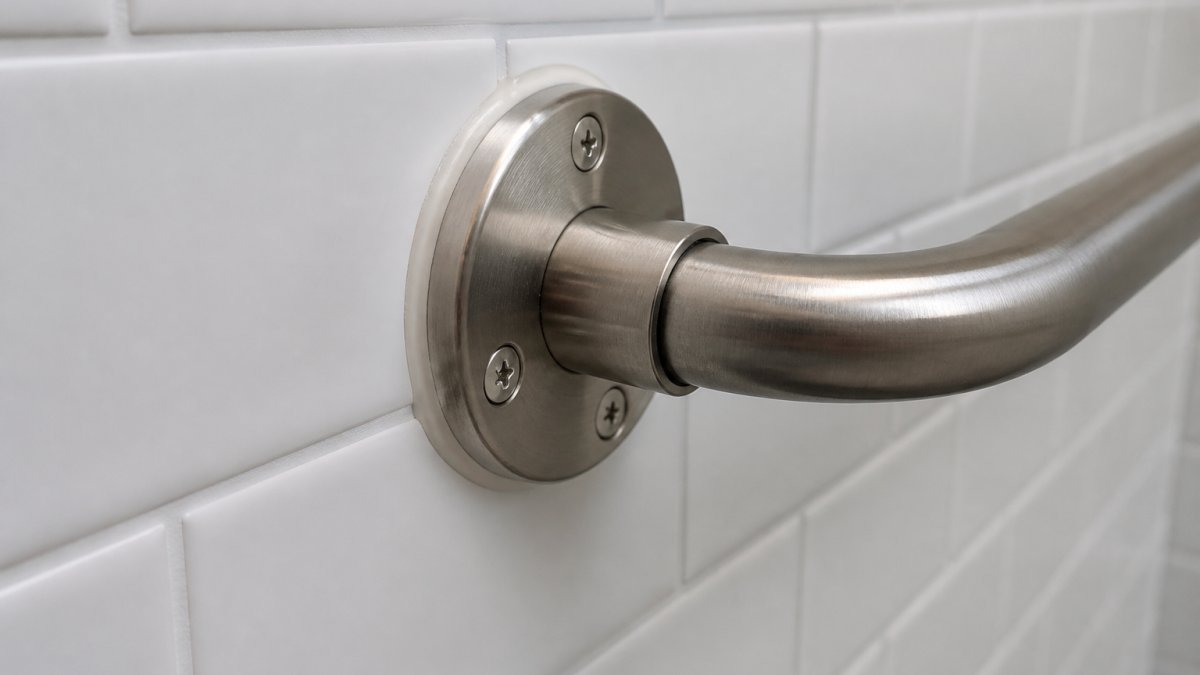
Installing a grab bar on tile requires finding solid mounting points and using the right fasteners. This is where many DIY attempts fail: improper anchoring leads to bars pulling away from the wall when you actually need them.
Finding Studs and Using Anchors
The strongest installation anchors directly to wall studs behind the tile. Use a stud finder to locate studs through the tile. If a stud is exactly where you need your grab bar, you're in luck, you can drill directly through the tile into the stud and use lag bolts rated for at least 250 pounds.
If no stud is available where you want the bar, you'll use heavy-duty anchors designed for tile and hollow walls. The best options are toggle anchors or molly bolts rated for bathroom use. These anchors expand behind the tile and drywall, distributing the load across a wider area than simple plastic anchors.
Avoid using standard plastic anchors in bathrooms, moisture eventually degrades them. Instead, use stainless steel toggle anchors or manufacturer-recommended anchors specifically rated for wet environments. Many grab bar manufacturers include anchors with their products; use those first and follow the installation instructions exactly.
Tools and Materials You'll Need
Gather these items before starting:
- Drill with masonry or tile bits (carbide-tipped, not standard drill bits)
- Level (essential for straight installation)
- Tape measure
- Pencil
- Stud finder
- Lag bolts or toggle anchors (rated for tile and your bar's weight capacity)
- Caulk rated for bathrooms (silicone, not acrylic)
- Safety glasses
Installation Steps and Load Testing
Step 1: Mark your installation points. Use your tape measure and level to mark where the bar will sit.
Step 2: Drill pilot holes through the tile. Use a carbide-tipped masonry bit slightly smaller than your anchor diameter. Drill slowly, rushing causes the bit to slip and crack the tile.
Step 3: Install anchors or bolts. If you're anchoring to a stud, insert lag bolts with washers and tighten them by hand first, then use a wrench to snug them down firmly.
Step 4: Attach the grab bar. Slide the bar onto the bolts or anchors and tighten the fasteners. Use a level to confirm the bar is straight.
Step 5: Caulk around the base. Apply bathroom-grade silicone caulk around the edges where the bar meets the tile.
Step 6: Test the installation. Before relying on the bar, test it with your full weight. Grab the bar firmly and pull toward you, then down, then at an angle.
| Installation Step | Key Point | Common Mistake |
|---|---|---|
| Mark location | Use level; mark both holes | Skipping the level; bars end up crooked |
| Drill pilot holes | Use carbide-tipped bit; go slow | Using standard drill bits; cracking tile |
| Install anchors | Expand anchors fully; follow instructions | Undersized anchors; insufficient fastening |
| Attach bar | Tighten firmly; confirm level | Over-tightening; cracking tile or bar |
| Caulk around base | Seal all edges with bathroom caulk | Skipping caulk; water damage later |
| Load test | Pull with full weight in multiple directions | Skipping test; unsafe installation |
Bathroom Grab Bar Installation Cost and What to Expect
The cost of installing grab bars depends on whether you're doing it yourself or hiring a professional, the number of bars, and your wall type. Materials alone, a quality grab bar and anchors, typically range from modest to moderate, but the labor and expertise matter significantly if you're hiring help.
If you're installing bars yourself, budget for the bars themselves plus anchors and caulk. The actual installation usually takes 30-60 minutes per bar if you're comfortable with a drill and familiar with your wall type.
Professional installation through a contractor like Handy Gonzo's Home Improvements includes an in-home assessment to determine the best locations for your specific needs and secure installation with proper anchoring.
Many people find professional installation worthwhile because it removes the risk of improper anchoring, ensures the bars are positioned for your actual mobility needs, and gives you the confidence that the bars will support you safely when you need them most.
When to Hire Professional Grab Bar Installation
Some installations are straightforward enough for a capable DIYer. Others require professional expertise, especially if you're unfamiliar with your wall construction or want the assurance of a warranty.
Signs Your Project Needs a Professional
Hire a professional if your bathroom has plaster walls, older lath-and-plaster construction, or walls you're unsure about. These materials require different anchoring techniques than standard drywall and tile. If you've never drilled through tile before, the learning curve is steep, a single mistake cracks the tile and wastes materials.
You should also call a professional if you need bars in locations where studs aren't available and you're uncertain about anchor selection. A professional knows which anchors work best for your specific wall type and can confirm they'll hold your weight safely.
If you're installing bars for someone with significant mobility challenges or if the bars are part of a broader accessibility project, professional installation ensures everything is coordinated, properly positioned, and covered by a service warranty. This peace of mind is especially valuable when safety is the priority.
What to Look for in an Installer
Choose an installer with experience in accessibility modifications and bathroom work. Ask for references and photos of recent installations. A quality installer will visit your bathroom, assess your walls and layout, explain the options, and provide a clear estimate before starting work.
The best installers ask about your specific needs, how you move through the bathroom, any balance or strength limitations, and which activities concern you most. This information shapes where they recommend bars and what type of bar works best. They should also explain why they're choosing specific anchors and mounting locations, so you understand the reasoning.
Verify that the installer uses bathroom-grade materials, tests the installation before considering it complete, and stands behind their work. At Handy Gonzo's Home Improvements, we assess each bathroom individually, use manufacturer-recommended anchors rated for your wall type, and test every installation to ensure it safely supports your weight.
Common Installation Mistakes to Avoid
The most common mistake is using inadequate anchors. Plastic anchors, drywall anchors designed for light fixtures, or undersized bolts will eventually fail.
Another frequent error is installing bars too high or too low. Bars that are 6 inches off from your natural grip height are harder to use and less effective.
Skipping the load test is dangerous. Always test the bar with your full weight before relying on it. Pull hard in multiple directions, toward you, downward, and at angles.
Don't skip the caulk. Water seeping behind the bar leads to mold, rot, and structural damage that's expensive to repair. Bathroom-grade silicone caulk is inexpensive insurance.
Finally, avoid over-tightening fasteners. You can crack tile or strip threads by forcing bolts too hard. Tighten firmly until snug, then stop.
Installing grab bars is one of the most effective ways to prevent bathroom falls and improve safety for everyone in your home.
Frequently Asked Questions
Where should grab bars be installed in a bathroom?
Grab bars should be installed near the toilet, inside the shower or tub, and along the edge of the tub. The most critical locations are the shower entrance, inside the tub or shower stall, and beside the toilet. Placement depends on user mobility needs, seniors and individuals with disabilities may benefit from bars at multiple heights and angles. Bars should be mounted 33-36 inches from the floor for standard reach, though this varies by user height and ability. Consult with a professional if you're unsure about optimal placement for your specific situation.
Can grab bars be installed on tile walls?
Yes, grab bars can be safely installed on tile, but proper anchoring is essential. Tile alone cannot support the weight of a grab bar; you must anchor into the wall studs behind the tile or use heavy-duty anchors designed for tile. Locate wall studs using a stud finder, then drill through the tile carefully with a carbide bit to avoid cracking. If studs aren't accessible, toggle anchors or other manufacturer-recommended anchors rated for bathroom use will provide secure mounting. Always follow the grab bar manufacturer's installation guidelines and load ratings.
How much does professional grab bar installation cost?
Professional installation costs vary based on the number of bars, wall type, accessibility of studs, and your location. Pricing depends on whether studs are easily accessible, the type of wall (tile, fiberglass, drywall), and any additional modifications needed. For accurate pricing in your area, request a free in-home assessment from a local installer who can evaluate your specific bathroom conditions.
What are the two main requirements for secure grab bar installation?
The two main requirements are proper anchoring and load-bearing support. First, grab bars must be anchored into wall studs or secured with heavy-duty anchors rated for the bar's weight capacity, typically 250 to 500 pounds. Second, bars must be mounted at the correct height and angle for safe transfer assistance, usually 33-36 inches from the floor for horizontal bars. Both requirements ensure the bar won't fail during use and will provide reliable support for fall prevention and mobility assistance.